Creating Height Maps and Normal Maps

Introduction

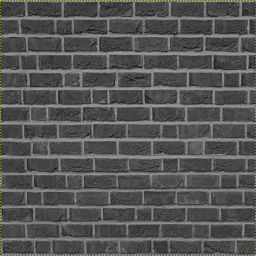
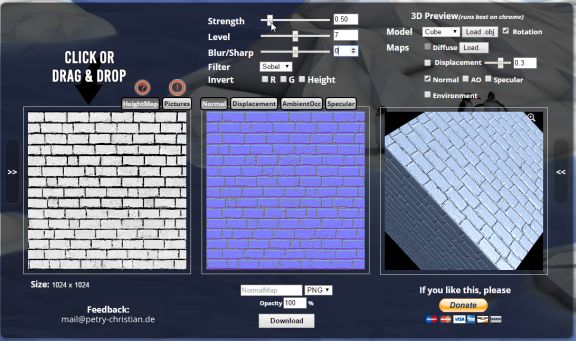
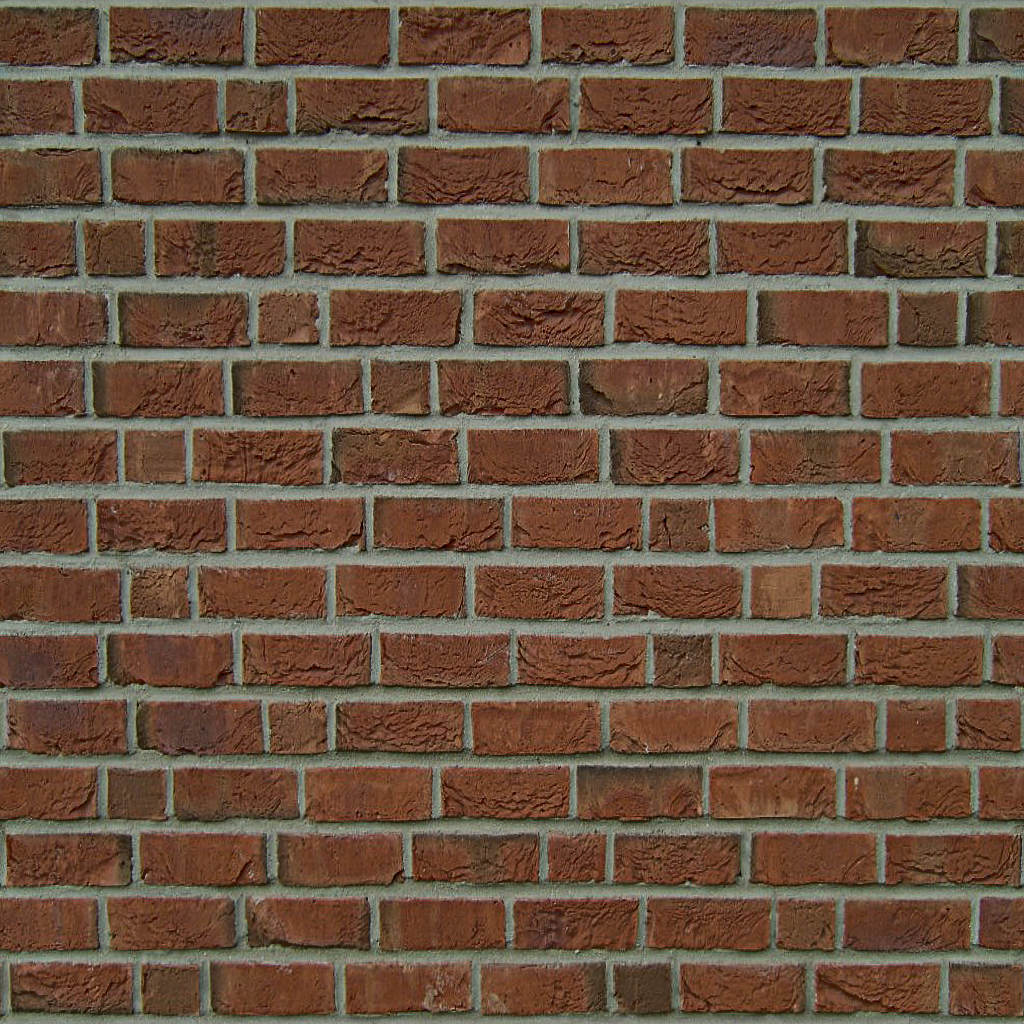
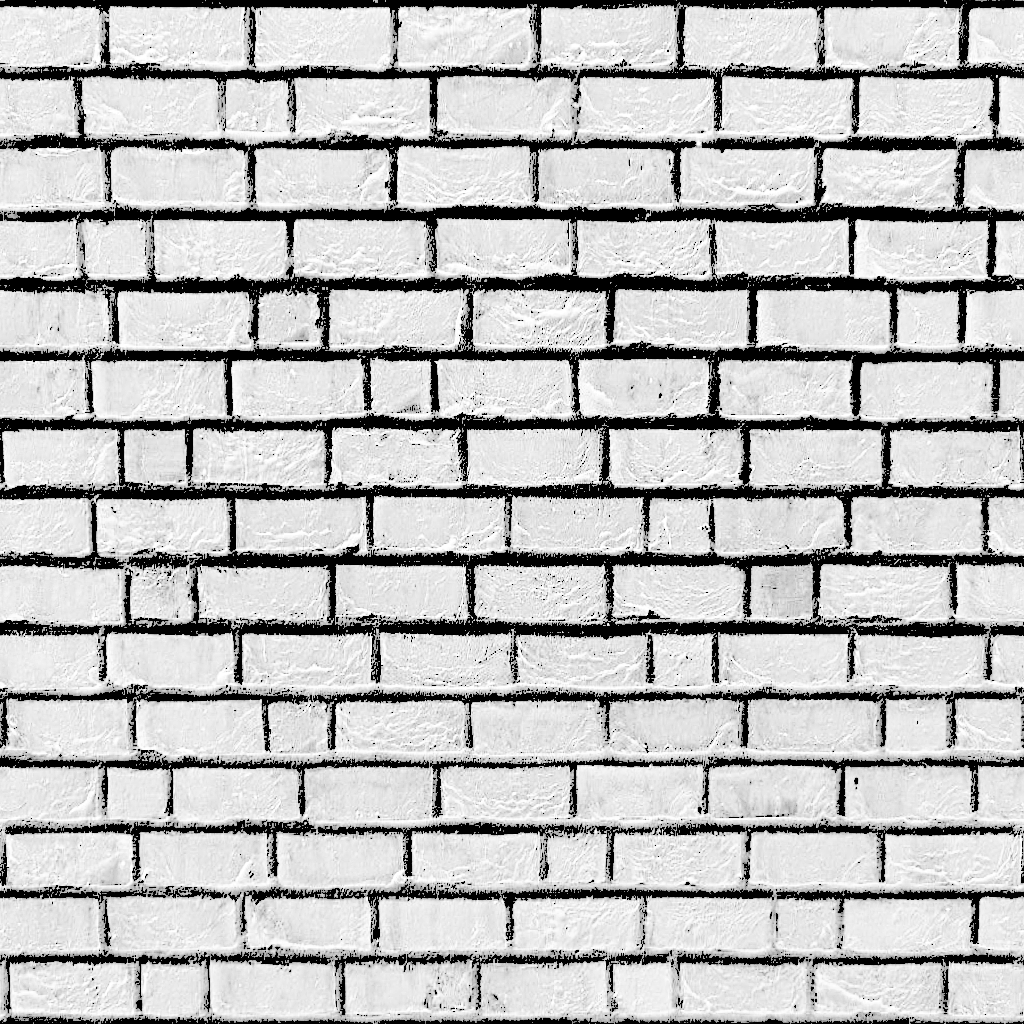
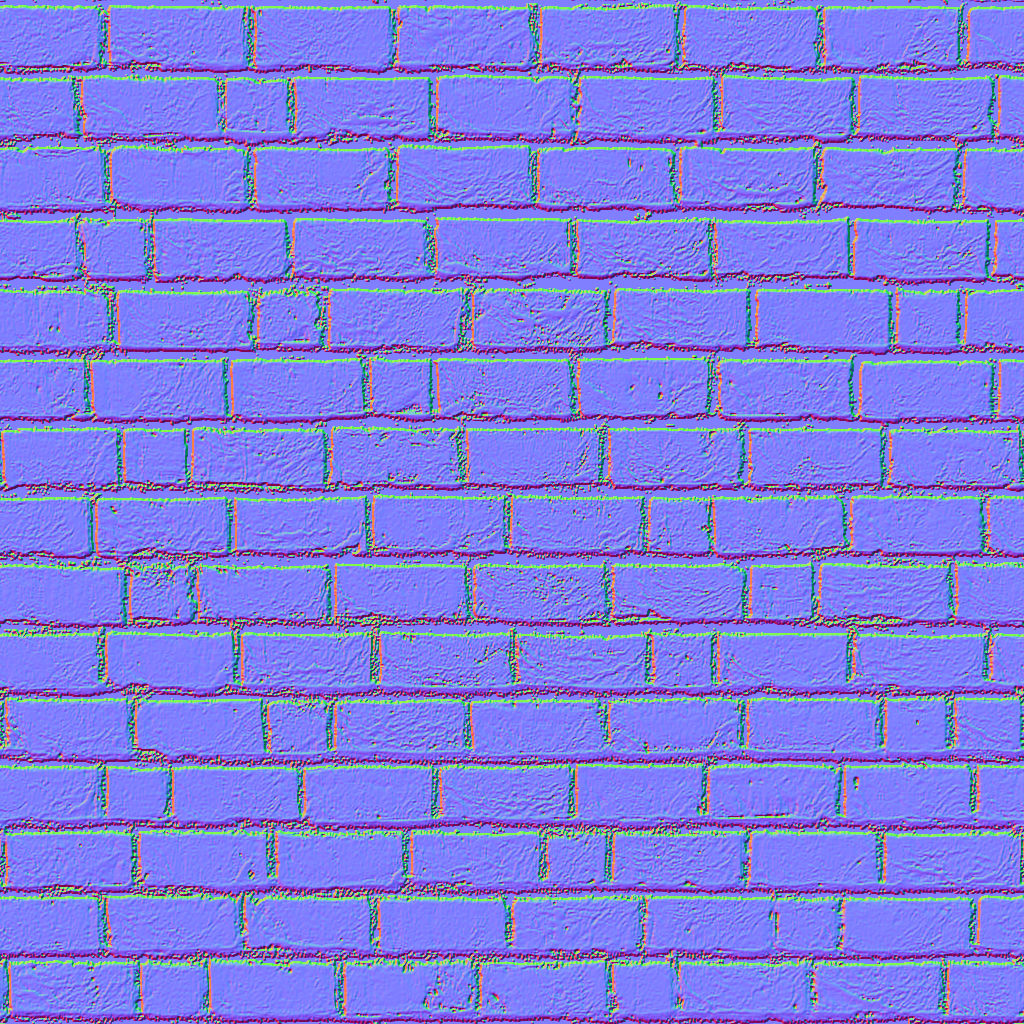
In this tutorial we will be covering a process for converting a standard Diffuse map into a Bump map, more commonly referred to as a Height map, and a Normal map.

Normal Maps and Bump maps are both used for bump mapping in general, but Normal maps provide better detail. However, not all applications support Normal maps so knowing how to create a standard bump map can be useful.

What we will be making

A simple brick texture courtesy of Nobiax: http://nobiax.deviantart.com/ The height map generated from our diffuse texture. The normal map generated from our height map.

Download these maps

What you will need


Creating the Height Map

  1. Open GIMP and then open the diffuse texture that you want to generate the height map from. In this example we will start with the brick texture that was included at the top of the article.

  2. Select Image> Mode> Grayscale from the menu.

  3. Now we need to decide how to color this image. Bump maps represent low points in the texture with black pixels and white pixels are ignored. So, if we examine this brick texture:

    Preview of our brick texture converted to grayscale.

    • We can see that the mortar is white and the bricks are black, or gray. This will not give us the results we are looking for in the end. The computer will read the mortar as the high points and assume the bricks are the low points.
    • What this means is that in this particular case we want to select Colors> Invert from the menu.

  4. Next, select Colors> Levels to bring up the histogram dialog box.

  5. In the Levels dialog:

    Adjusting the histogram in our height map.

    • Slide the Shadows input(left) to the left edge of the histogram chart.
    • Next, slide the Highlights input(right) to the right edge of the histogram.
    • Now adjust the Mid-tones slider(middle) until you are happy with the results. A higher contrast is recommended so that there is little variation in the color.

    For reference here is how brick bump map from the top of the article came out:

    Our brick height map.

  6. Select File> Export As... from the menu, and save the height map as brick_bump.png


Creating the Normal Map

  1. Visit https://cpetry.github.io/NormalMap-Online/.

    NormalMap Online, a free normal map generator that you can use in your browser.

  2. Drag and drop your brick_bump.png file into the box on the left, or click the example image to browse for the file:

    Selecting the height map we created earlier.

  3. Next, uncheck Displacement, AO, and Specular.

  4. Now, adjust the Strength until you are happy with the results. In this example a Strength of 0.50 was used.

    Adjusting the strength of our normal map.

  5. Directly below the Normal map preview, you can assign a name for your image, in this example brick_normal was used, and the format is PNG.

  6. Lastly, click the Download button to download the image to your system.